- NB: last update for OpenViBE 0.11.0 (aug-2010).
Overview
This second tutorial demonstrates how scenario settings can be customized both offline (at scenario editing time) and online (as the scenario is being played).
Step 1 : Identifying customizable boxes
Some box algorithms expose settings for configuration by the scenario editor. When working in the Designer, there is an easy way to know whether a box exposes configurable settings : look at the box name:
- Bold font means the box exposes at least one configurable setting, whereas
- Normal font means the box is not configurable.
Let’s open the scenario that was designed in the first tutorial (see Tutorial 1). Both boxes have bold name, meaning they can be customized offline.
Step 2: Offline settings modification
To open the settings dialog of a box, double click on the box. Let’s double click on the Sinus Oscillator box. This pops up a dialog divided in two parts :
- the upper part shows the list of settings, where values can be entered via input fields,
- the lower part handles an alternate way of specifying settings by reading them from a file. This part can be unfolded by clicking the ‘+’ character. Tick the checkbox on the right and specify the file you want to use. Configuration file format is described in a dedicated page, Box Algorithm ‘settings override’ file format.
The most straightforward way to customise a box consists of modifying settings values from this dialog. The Sinus Oscillator has several settings, and the input field of each setting displays its default value. Let’s modify the number of channels for which to generate sinusoidal signals, by entering “2” in the Channel count input field. Validate the configuration by clicking the ‘Apply‘ button.
Save the new scenario settings by selecting the ‘Save’ option from the ‘File’ menu, or clicking the ‘Save’ button in the toolbar.
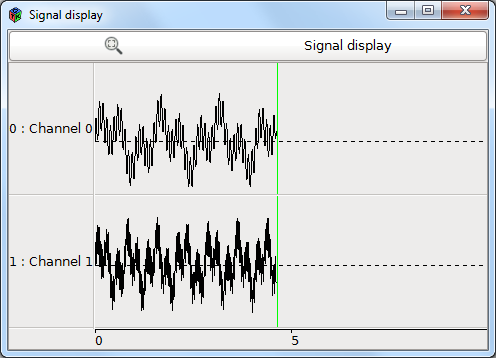
Now let’s observe the changes made to the scenario by playing it. There is no need to modify the Signal Display box, which dynamically adapts itself to the number of channels in use in the scenario. Click the Play button to start the scenario : the visualisation box should automatically restrict its display to 2 channels only:
Step 3: Online settings modification
The previous step demonstrated how scenario settings may be initialized and saved along with other scenario information.
Now we are going to see how some settings can also be accessed as a scenario is being played, making it possible to dynamically modify some parameters.
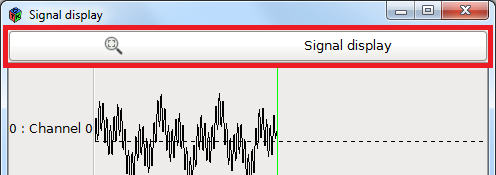
The prototype of a box specifies what inputs, outputs and (offline) settings it exposes. However, visualisation boxes (that is, boxes that display 2D or 3D data when a scenario is being played) offer another possibility to tune some of their parameters. The visualisation box developer has the possibility to create a toolbar for the box. When such a toolbar exists, it may be displayed by clicking the button named after the box which is displayed on top of the popup visualisation window.
Click the toolbar button : the toolbar is displayed in a popup window. A number of settings and commands are accessible from the toolbar, including zooming options, left and bottom rulers toggle buttons, a time scale setting, channel selection options and a button popping up a scenario information dialog. To know more about this plugin, refer to its user documentation here : Signal Display
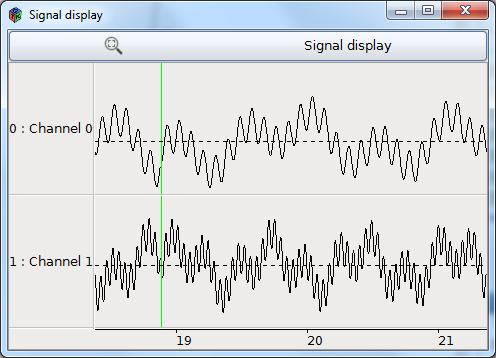
The time scale, i.e. the time span covered by the displayed signals, can be modified using the dedicated spin button. Try entering a new value such as 3 (it is expressed in seconds). The bottom time ruler, if displayed, reflects this change immediately.
Now try out the other options to learn how the Signal Display plugin may be customised, then move on to Tutorial 3 to learn about advanced box configuration!


